Step - 6
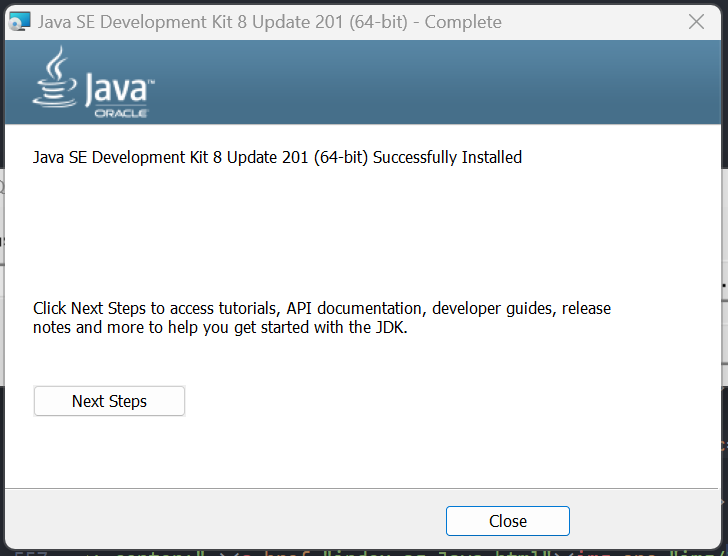 This screen shows
that your installation has been successfull. After you have
finished installing Java, test the installation to make sure
everything went OK This screen shows
that your installation has been successfull. After you have
finished installing Java, test the installation to make sure
everything went OK
|
|
Step - 7
 Go
to Control panel you will see icon for Java double click
it, and the following screen will come in few seconds. Go
to Control panel you will see icon for Java double click
it, and the following screen will come in few seconds.
Go to Serurity level tab as indicated here, they are two
or three option depending on the Java you have
installed, however select High option if not availavalbe
select Medium option.
Go to Exception Site List and click Edit Site List to add
the address shown on screen. Click add to add the
address then click continue to confirm. Once done you
will see the address as shown on this screen.
|

 Double click on this
file and and you will see this screen opening.
Double click on this
file and and you will see this screen opening.
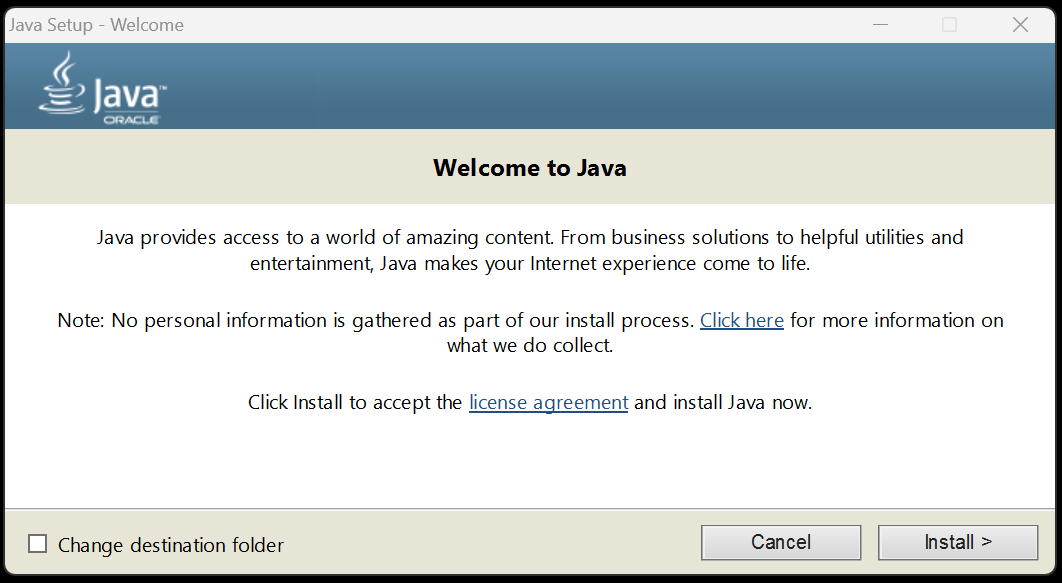
 An installation
wizard will open as can be seen in here on this
screenshot.Click on Next.
An installation
wizard will open as can be seen in here on this
screenshot.Click on Next.
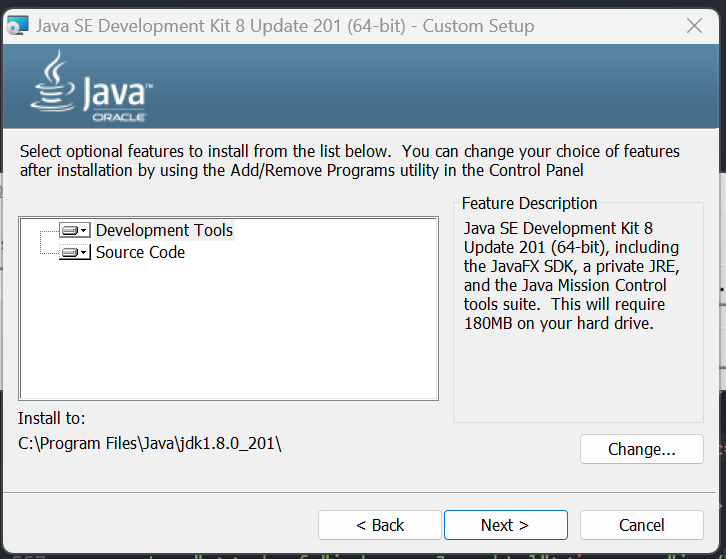 On this screen,wizard
is trying to install Java by default in C:\Program
Files\Java\jre1.8.0_201, but if you want to change the path
,you can change here by clicking on Change... button and
giving path wherever you want to install Java/Jre. Also as
you can see there should be at least 300 MB of space
available for installation ,so make sure you have necessary
space available.If you are fine with path and size ,Click on
Next.
On this screen,wizard
is trying to install Java by default in C:\Program
Files\Java\jre1.8.0_201, but if you want to change the path
,you can change here by clicking on Change... button and
giving path wherever you want to install Java/Jre. Also as
you can see there should be at least 300 MB of space
available for installation ,so make sure you have necessary
space available.If you are fine with path and size ,Click on
Next.
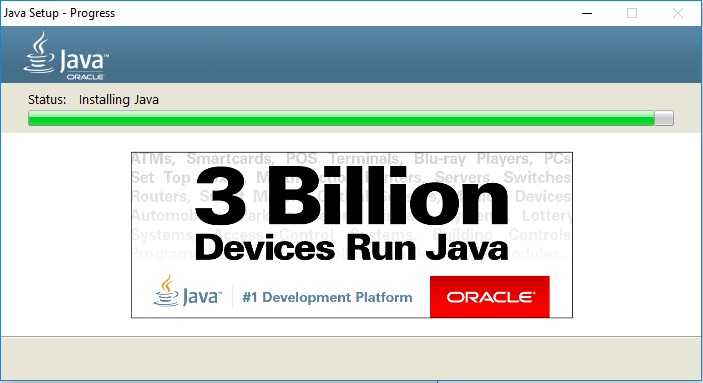 You will see this
screens.Finally click on finish on second screen that comes.
You will see this
screens.Finally click on finish on second screen that comes.